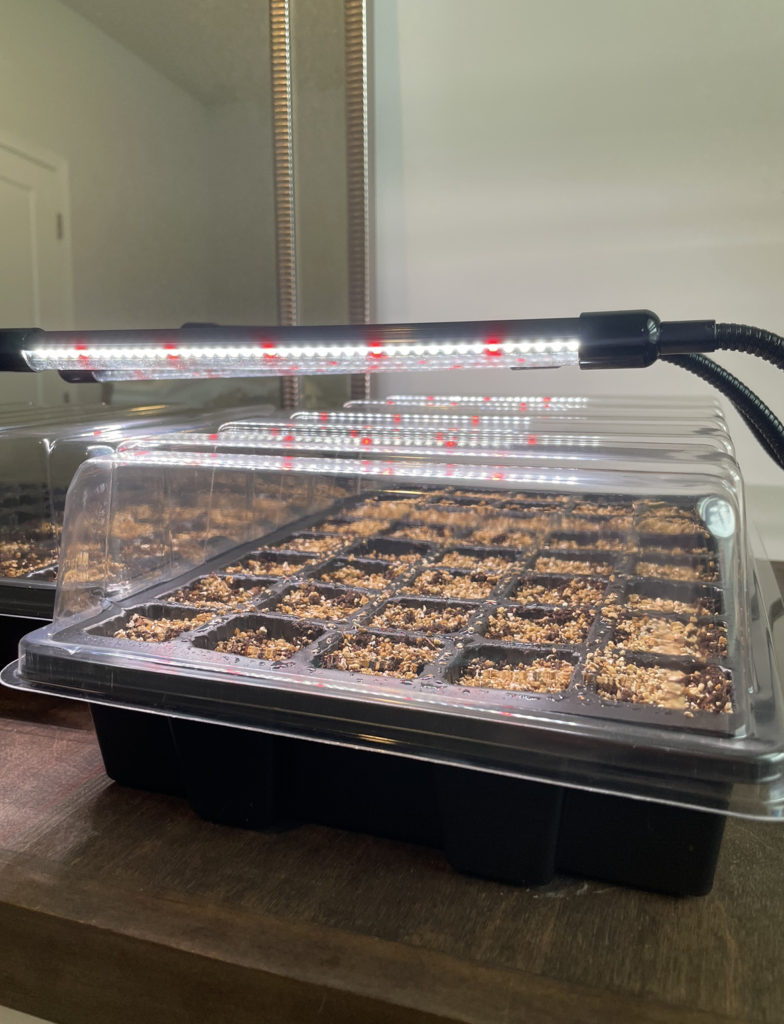
Hey y’all! I am super excited because we decided we wanted to grow our own fruits and veggies this Spring! I’m a little late to the game for my area on getting seedling started inside, but we are still going to give it a shot! Follow along with me to see how these babies turn out!
Research/ Where to find supplies:
First things first: I started by looking at the Farmers Almanac online to see when they suggested I plant indoors and also what to plant in general for this time of year. Here is the link if you would like to go directly to their site. Just put in your zip code and they will give you a run down.
Next, I decided what I felt comfortable planting/ what I wanted to eat in the Spring. We landed on, San Marzano Tomatoes, Cherry Tomatoes, Green Beans, Basil, Cucumber, Okra, and Bell Peppers. I figured that was a safe place to start since we have never done this before. We got our seeds from Burpee, their website is linked here. We also might be doing a citrus or peach tree but that’s to be determined!
I then did a ton of research on what steps and items I needed to use. I found a ton of things online and came across a video from Wyse Guide on seed starting and pretty much copied what he did. The video is linked here if you’re interested.
I got all of my supplies such as seed starting soil, propagator, vermiculite and grow lights from Amazon. I linked my storefront were you can find all the items I used listed under the “gardening” section.
Below is exactly what I did with photos!
Step 1:
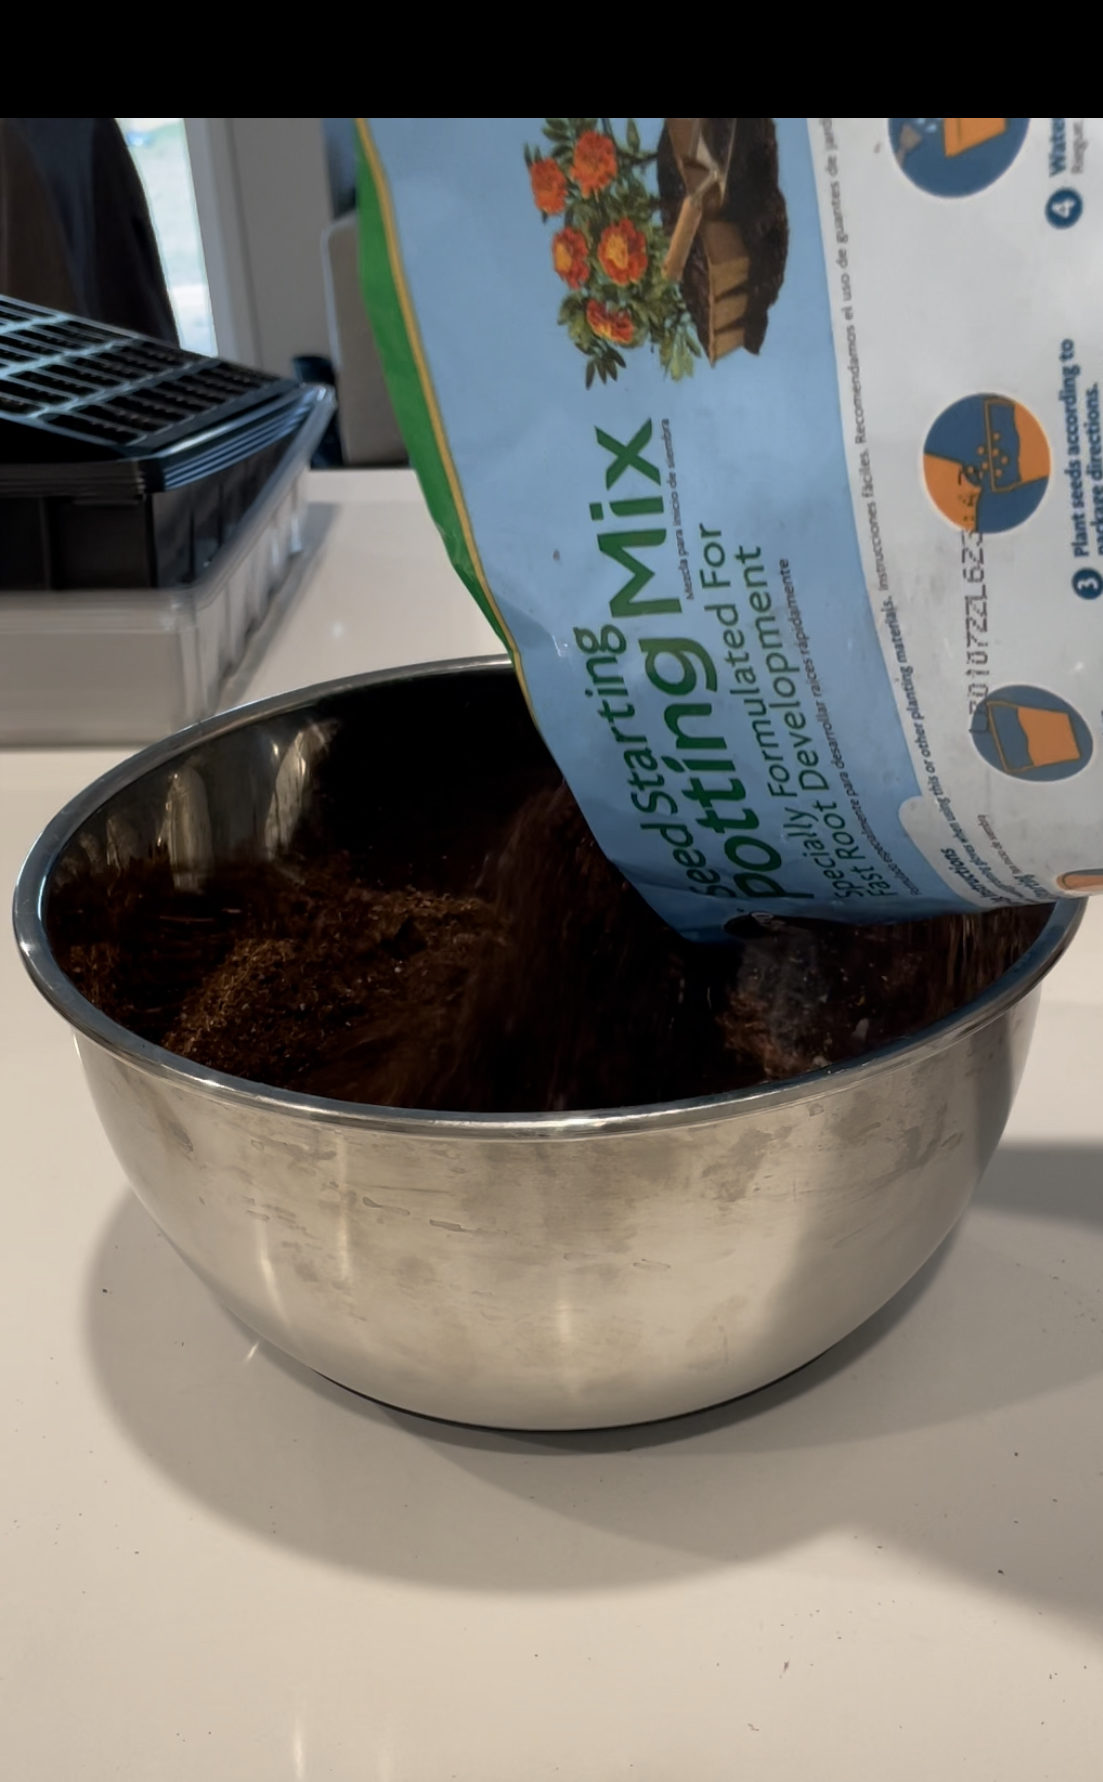
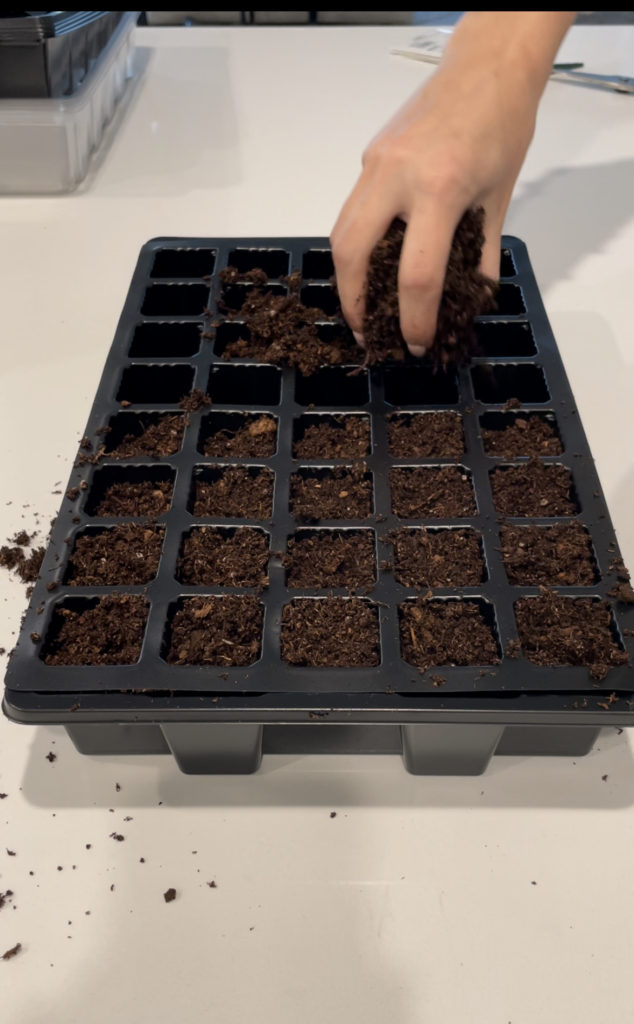
I added my seed starting mix into a bowl and got it a little bit wet. This helps to saturate the soil prior to putting it in the propagator so that way you don’t have to add so much water later on. The soil should still be mostly dry, but a tad moist. Once that is done lightly pack it into the propagator.
Step 2:
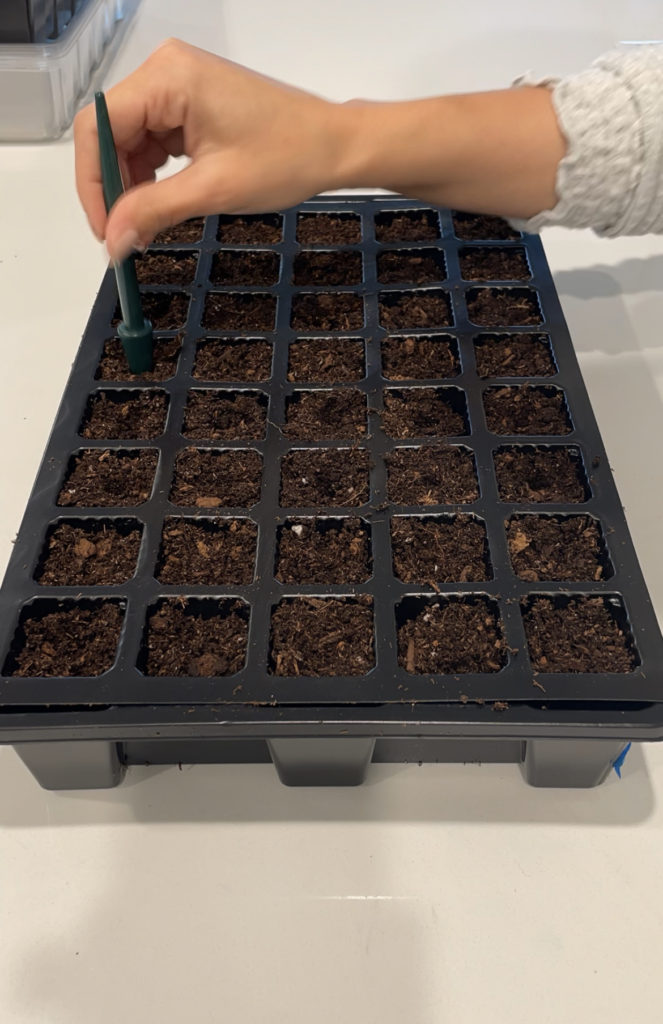
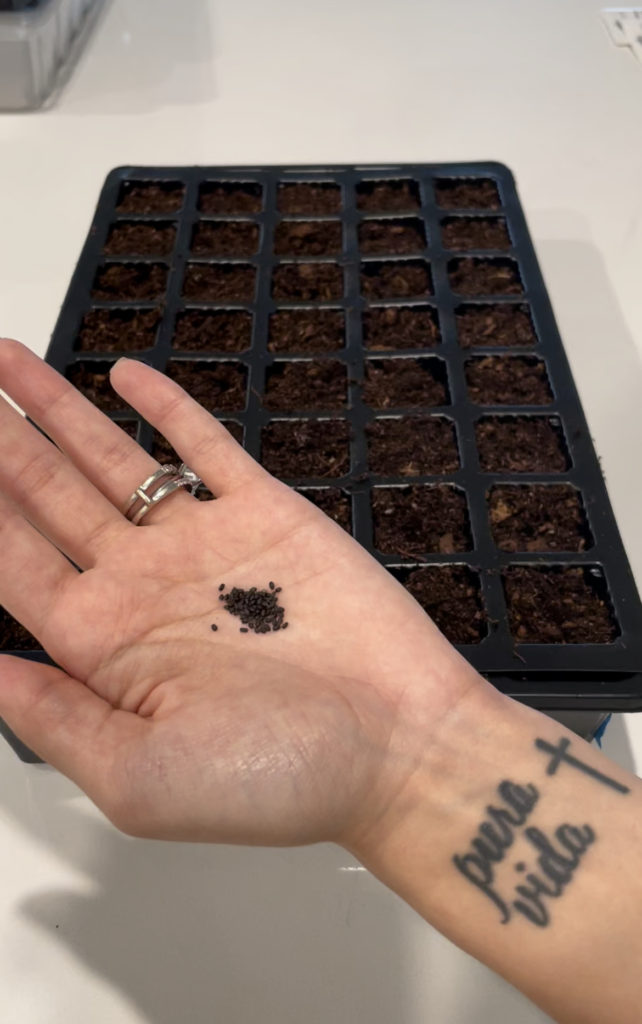
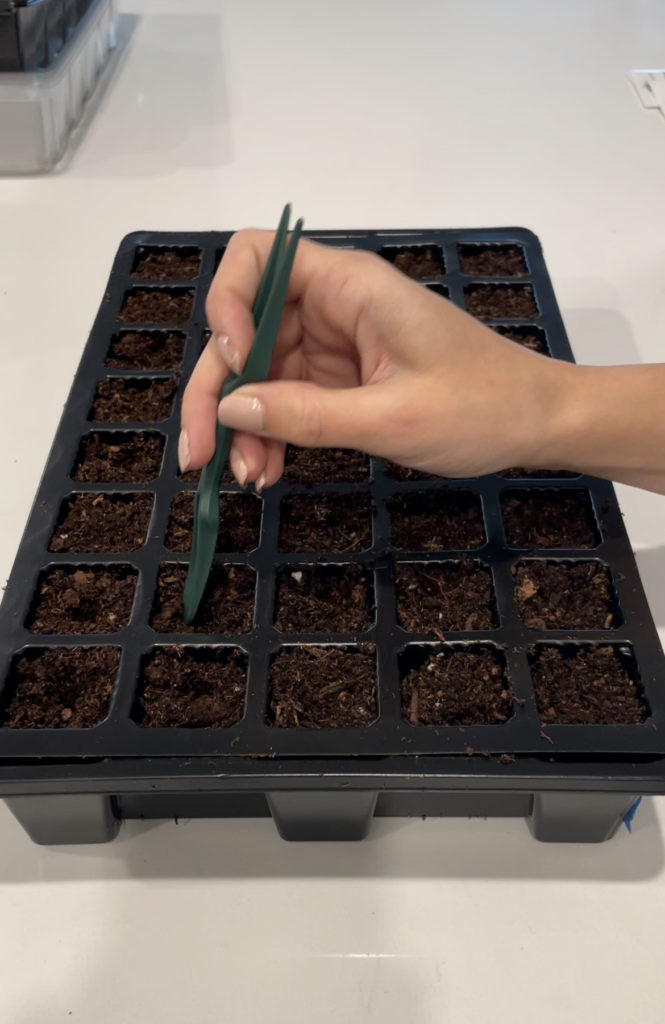
Next, make 1/4 inch holes in the soil or however deep the seed packages recommend. Mine stated 1/4 inch! Then add 1-2 seeds in each hole. I added two just in case one doesn’t sprout!
Step 3:
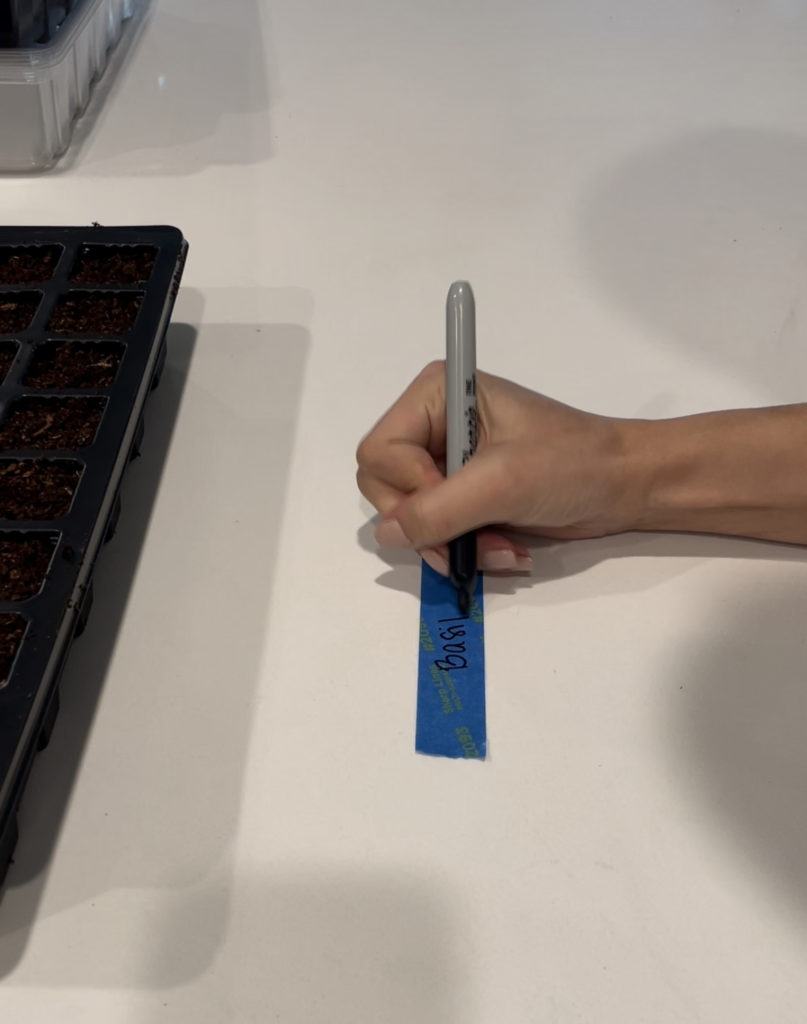
Then, cover each hole and lightly pack it down. Add labels for each row so you don’t forget what you planted and where!
Step 4:
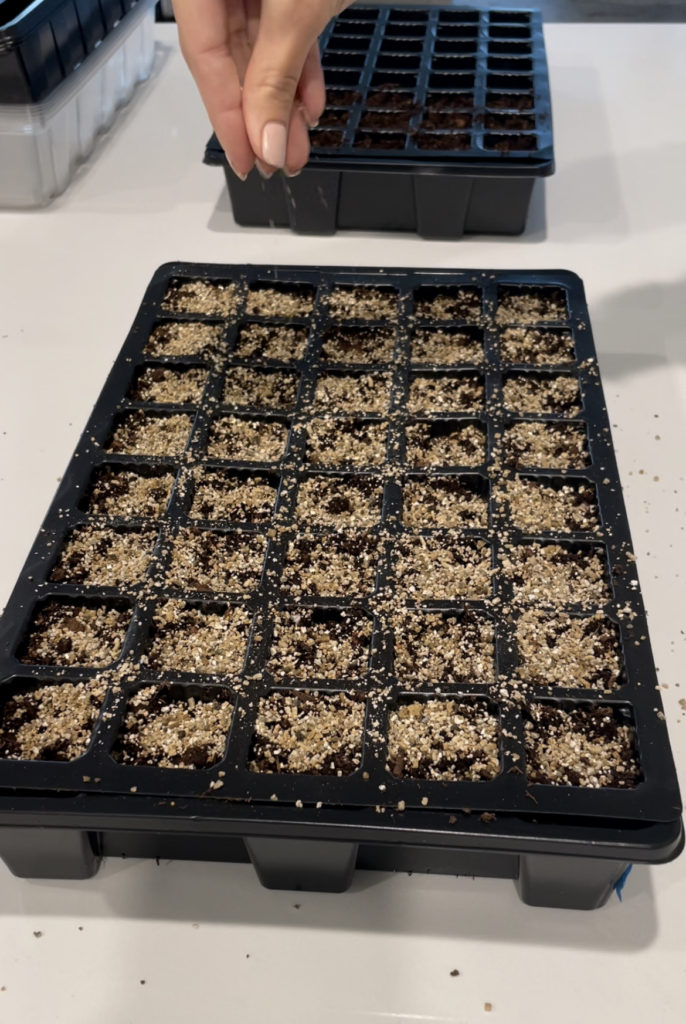
Almost done!! I then added vermiculite on top of the soil, this helps with mold and allows the soil to be more aerated. Then spray the top of the soil and vermiculite with water to saturate!
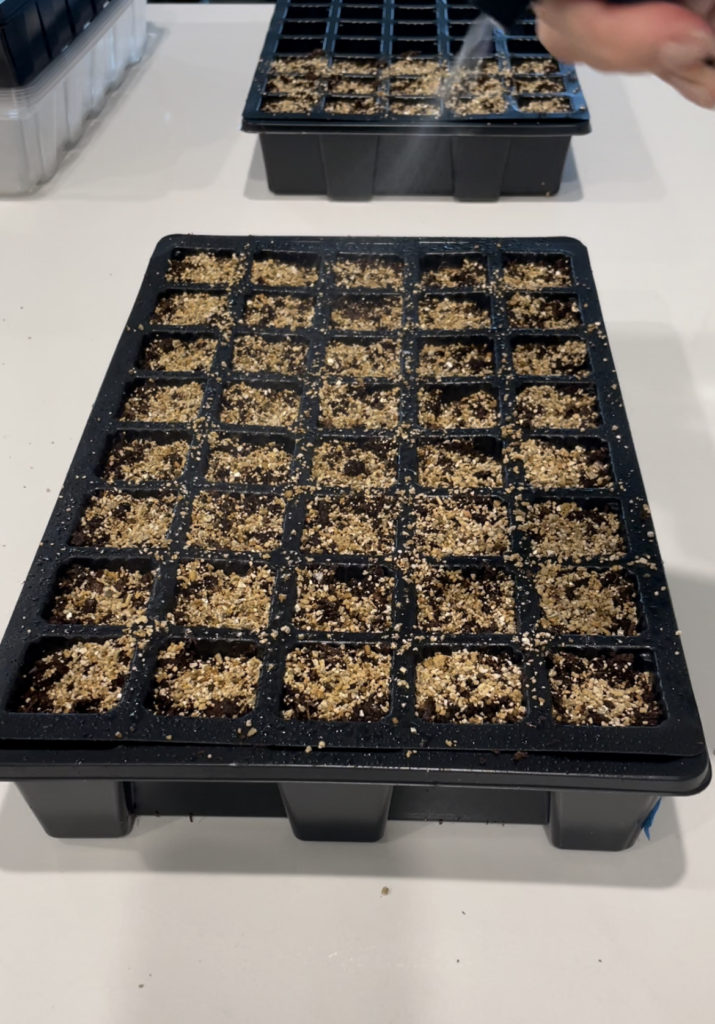
Step 5:
Lastly, add about 1/2 inch of water in the bottom of the pan, this allows it to water from the bottom rather than the top. I then add on the plastic top which creates its own little greenhouse and place under grow lights. It is recommended that seedlings get anywhere from 12-14 hours of direct light which is why my grow lights have a timer for 12 hours.
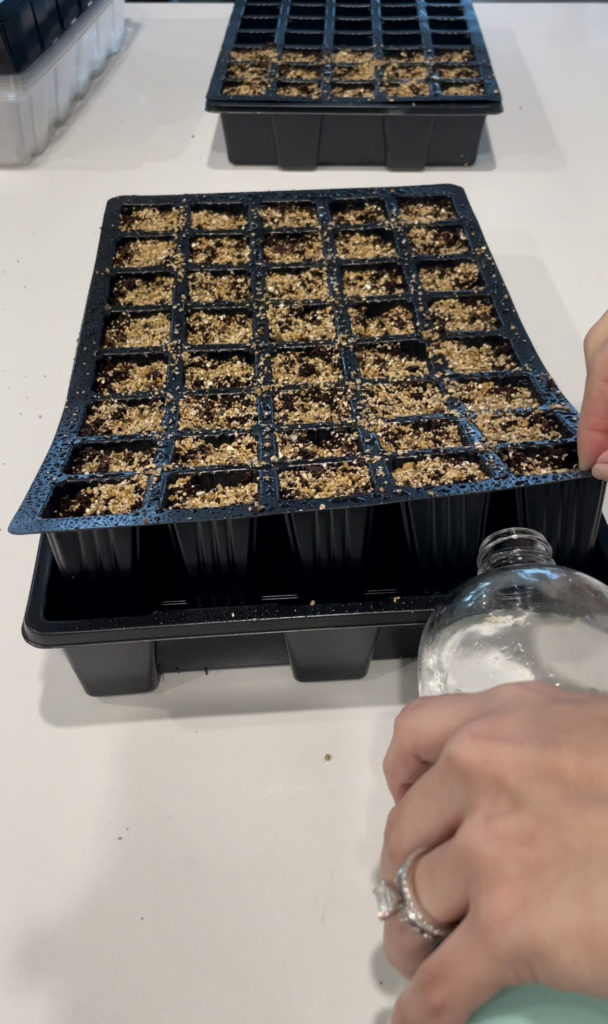
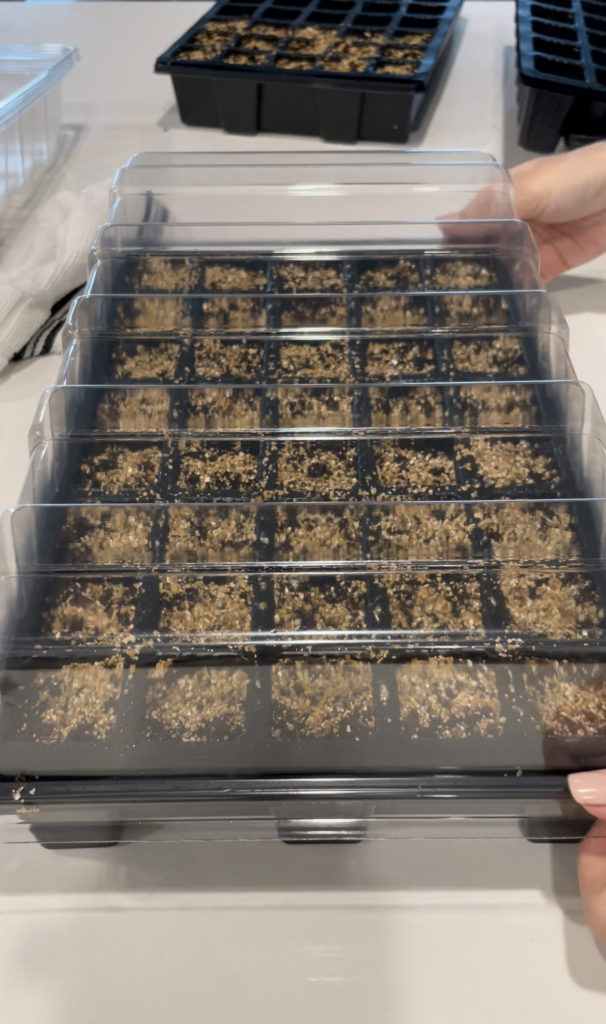
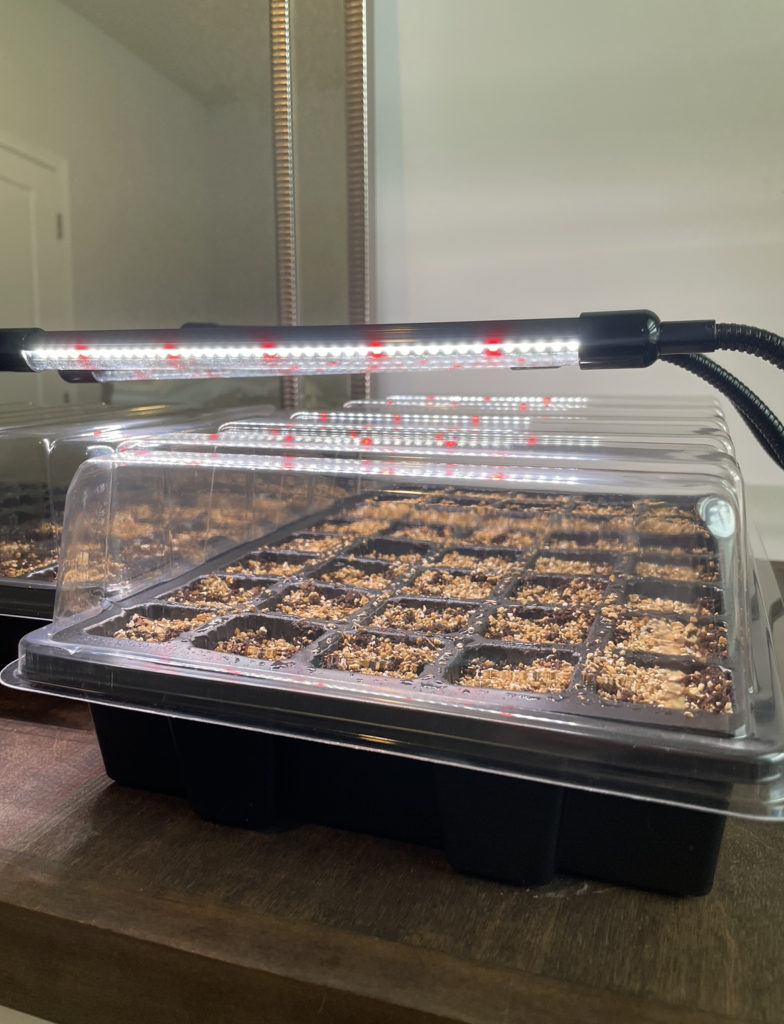
At this point you’re done for now! You will have to check them daily, maybe rotate the propagator so they are getting equal amounts of light. Then in a few weeks you may have some seedlings. Once the last freeze has passed, it is safe to plant them outside! Keep in mind I am not a pro gardener and this is my first time doing this! Fingers crossed we have a full garden this year!
If you try it out let me know how it goes!
Here is a fun video of what I did if you prefer to see it that way!


 ha
ha


No Comments