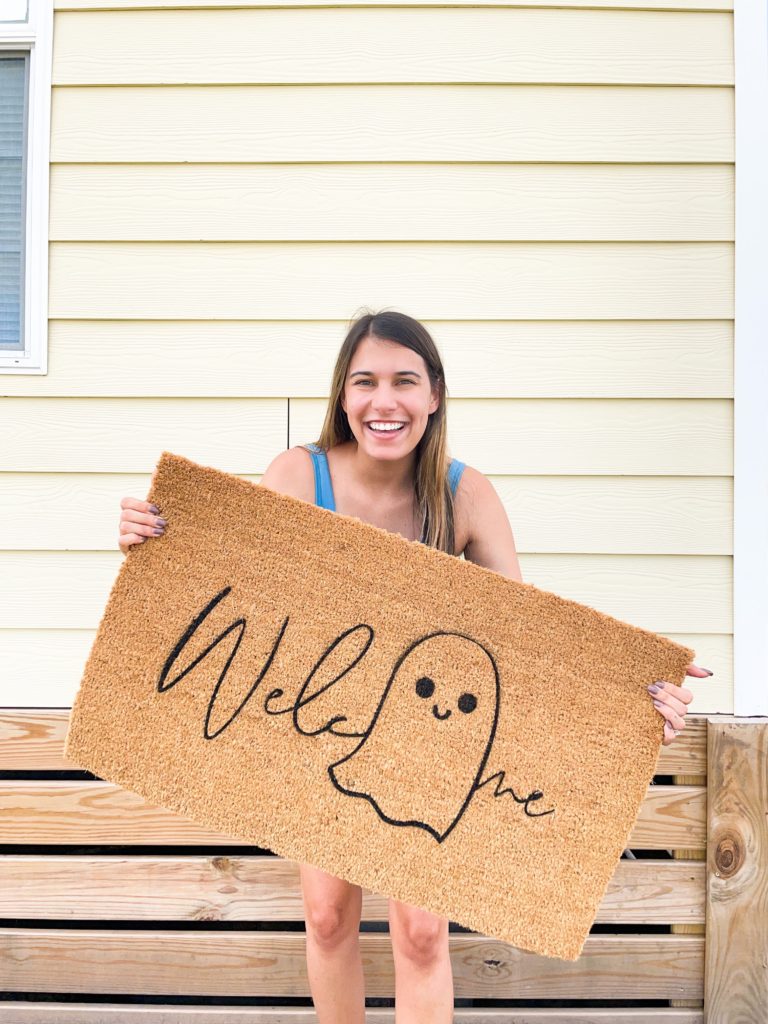
Hi there, yall! I am so happy with this cute little DIY Doormat. It is subtle but it adds such a cute Halloween vibe to my porch!
Everything you see is from Walmart! I partnered with them to put together a fun Halloween craft. I immediately knew I wanted to do a DIY doormat. It was the perfect DIY that I knew ANYONE could do.
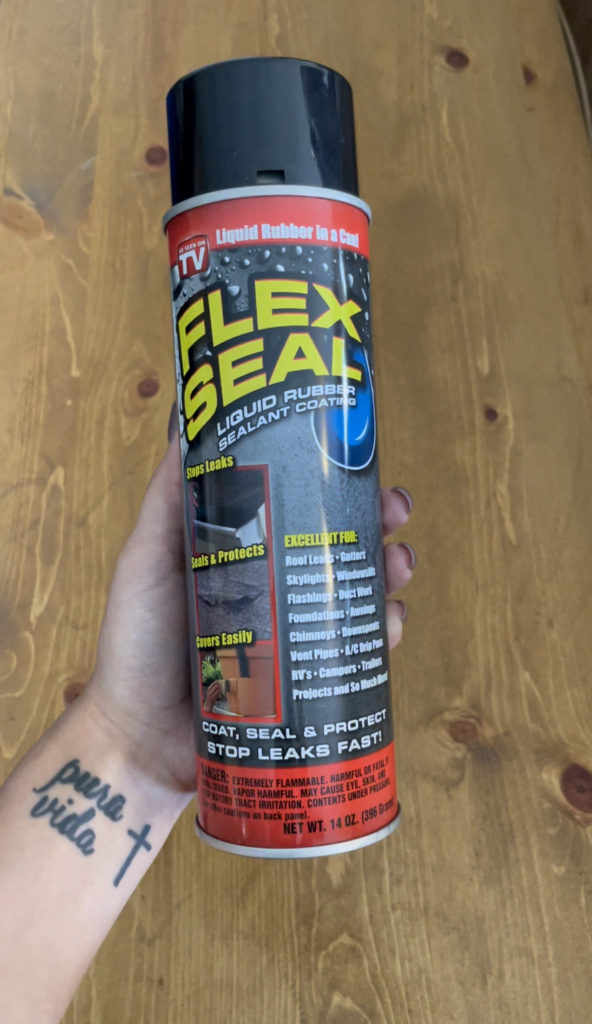
I first started with selecting the doormat! I chose a blank one, but any doormat you want to put a design on will work perfectly. The price is incredible at $5.97. I then picked up flex seal in black. This is a liquid rubber that you will use to ensure your design lasts as long as possible. You can also use any color acrylic paint and go over the painted design with the clear version and that works perfectly as well.
Okay, the star of the show in this DIY is the Cricut Explore Air 2. Without this tool you can certainly create a stencil by hand, but the Cricut allows you to create intricate details that you may not be able to create by hand. I personally have the bundle as I felt it was the most bang for your buck! But get whatever you prefer and suits your needs.
Here is the full list of supplies:
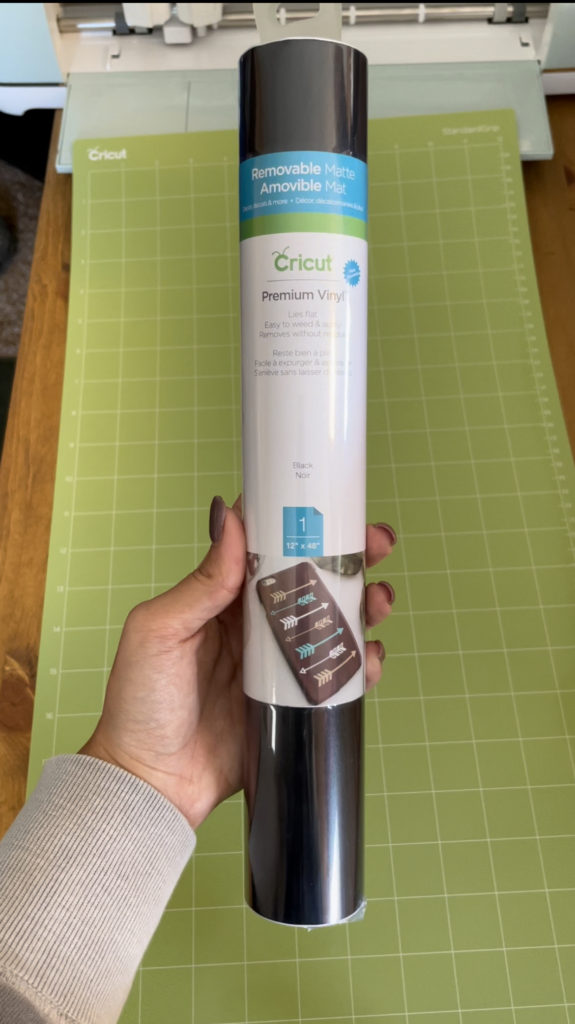
- Cricut Premium Vinyl (you can use any color, I used black)
- Cricut Transfer Tape
- Cricut 12X24 Cutting Mat (you can use the standard 12X12 mat depending on your design size)
- Cricut Explore Air 2
- Cricut Weeding Tool (Here is a great bundle deal on sale)
- Flex Seal (black)
- Doormat
- Painters Tape
LETS DO THIS!
Step 1:
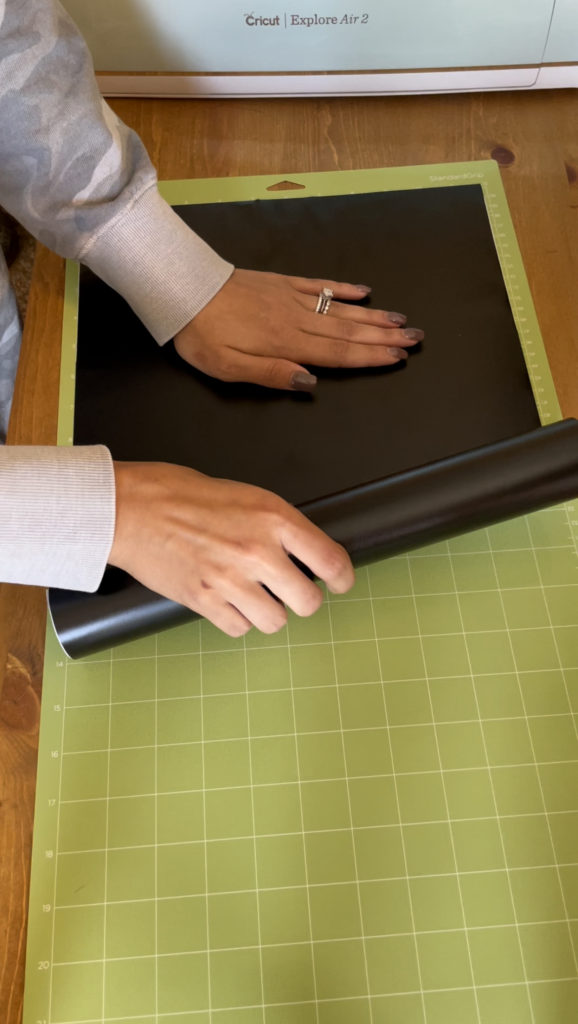
Use your Cricut Premium Vinyl and your 12X24 cutting mat.
Lay out and flatten the vinyl to the mat to ensure and even cut.
Step 2:
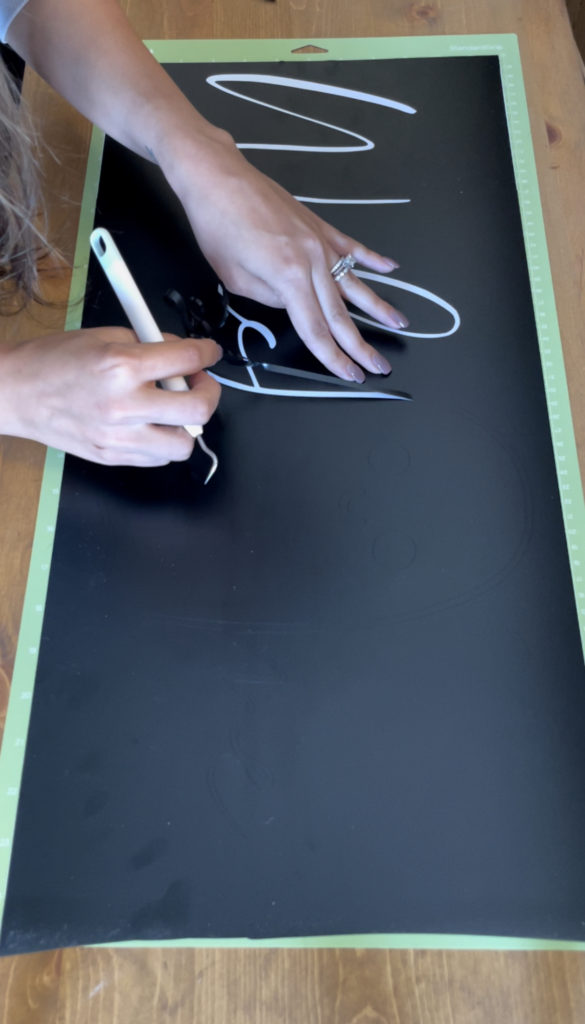
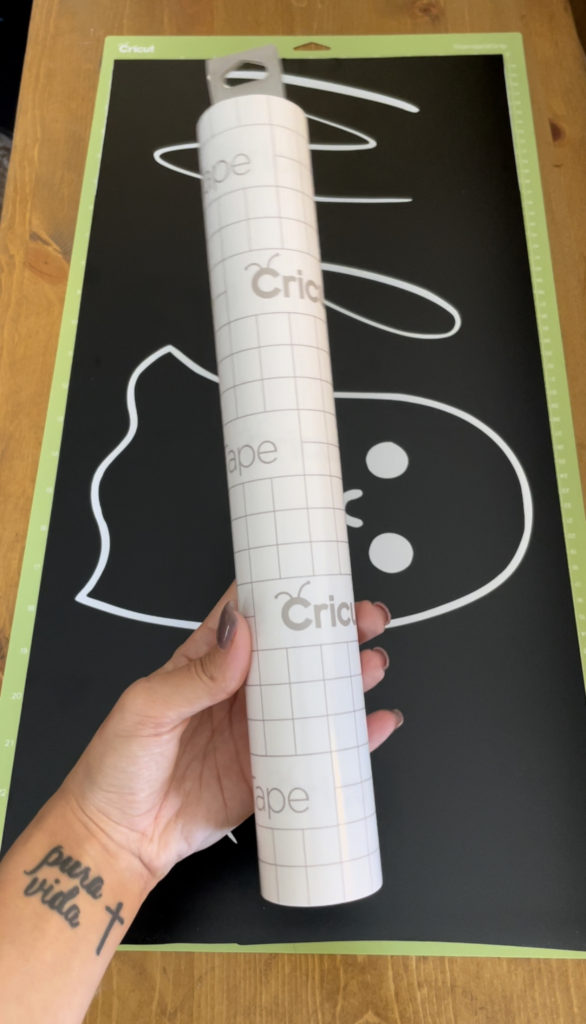
Weed out the design that you will use as a stencil. Think a little backwards and leave the pieces that you don’t want painted. I left the insides of the “e”.
Step 3:
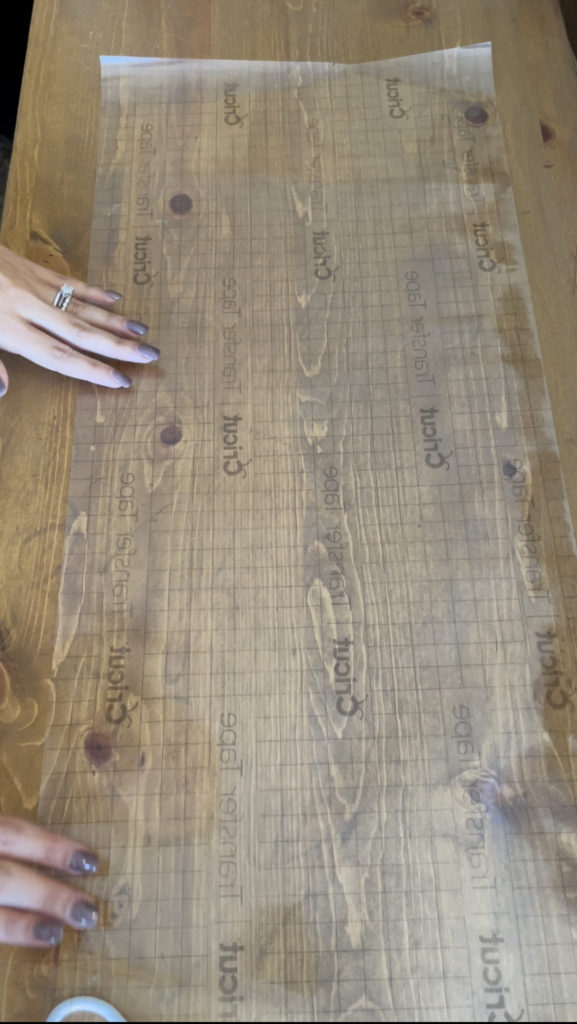
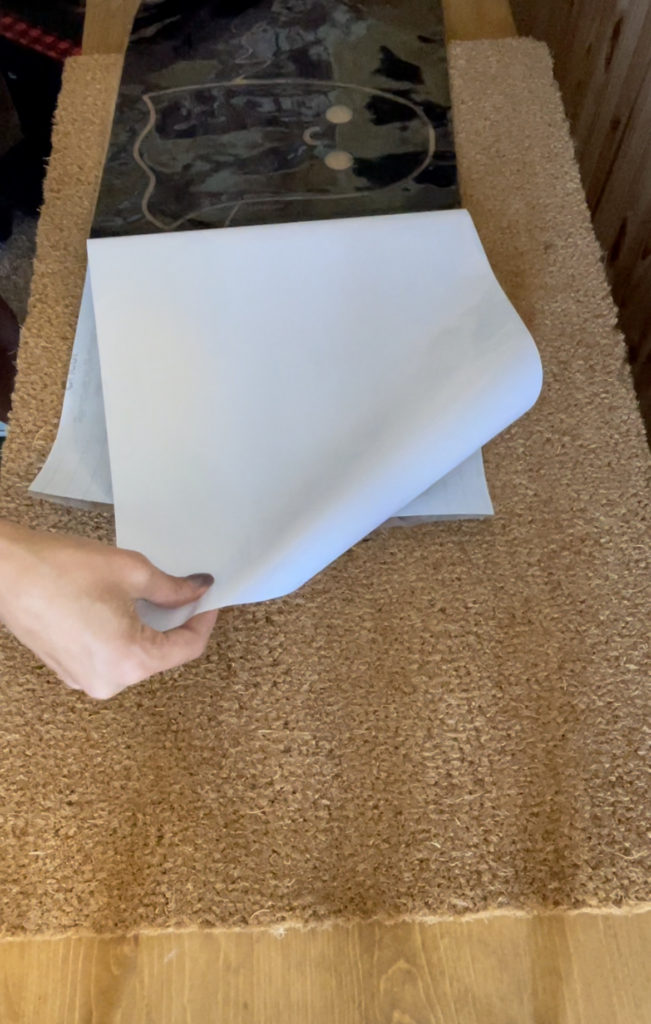
Grab your transfer tape and cut it to the size you need. Remove the backing and lay the transfer tape sticky side up on the table.
Step 4:
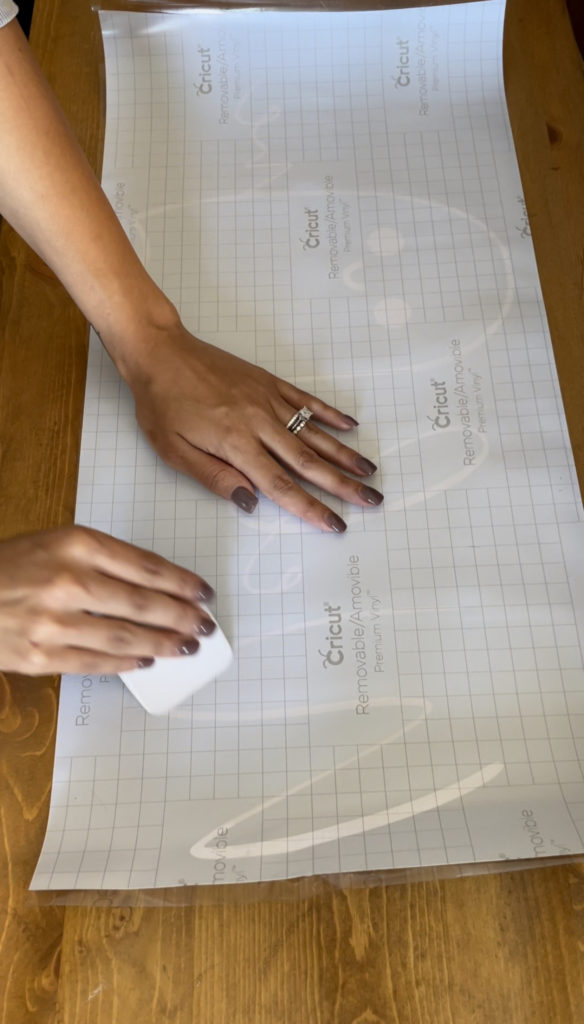
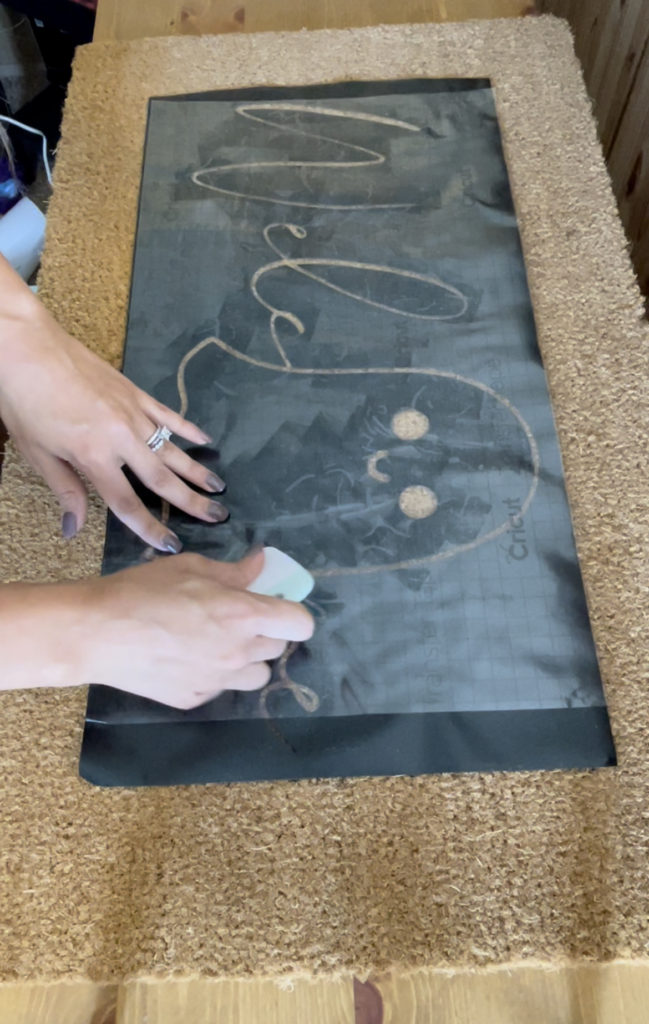
Lay your weeded design down onto the sticky side of the transfer tape and burnish the design down onto the transfer tape. After your design is on your transfer tape remove the backing on the vinyl to reveal your design on the transfer tape. Go slowly to ensure you don’t pull up any parts of your design.
Step 5:
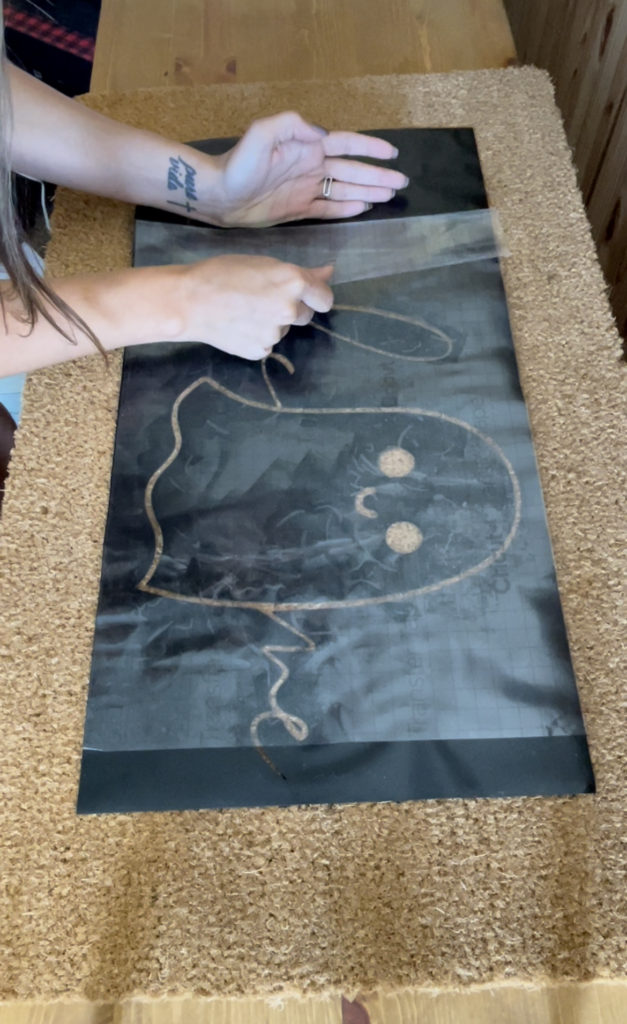
Now take your doormat and lay the design vinyl side down onto the mat. The vinyl may not want to stick to the mat so burnish the design to the mat. When you feel as though it is on as best as it can be, peel the transfer tape slowly off of your design. GO SLOWLY, trust me! Its okay that it takes time, no need to rush.
Step 6:
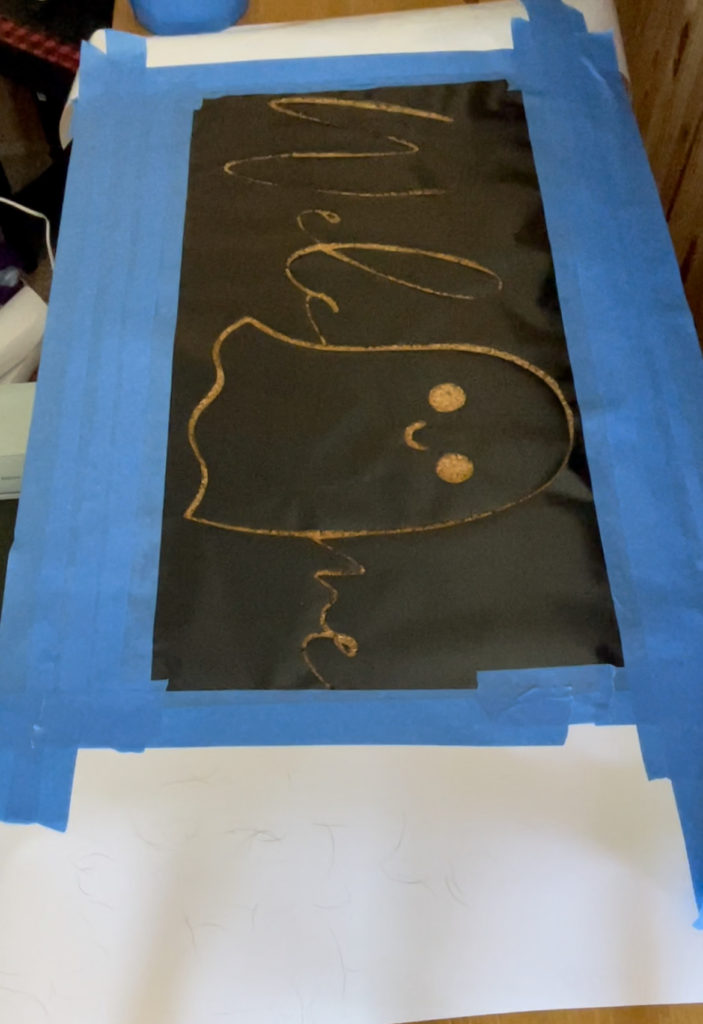
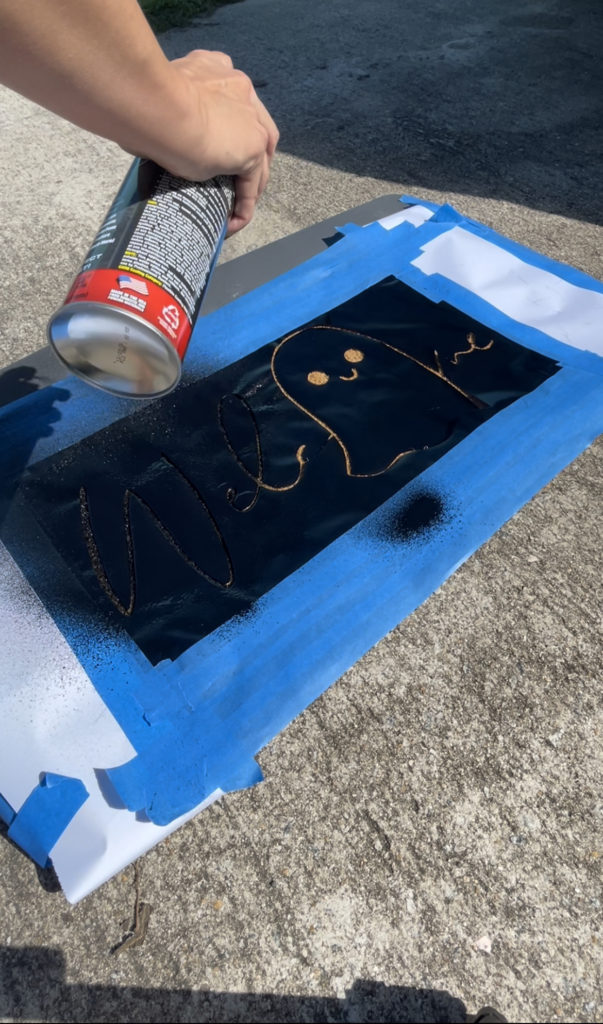
Tape off the parts of your design you don’t want to be painted. This helps ensure that only the design gets the color and nothing else.
Step 7:
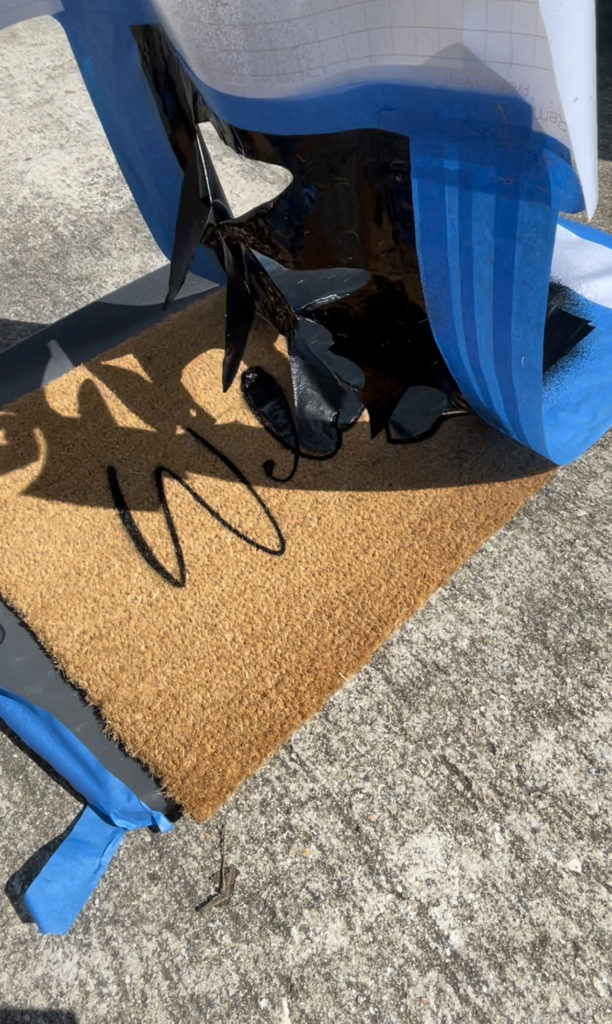
Take that black flex seal and spray it over top the design. For the best results go from on top of the design to get clean lines.
Step 8:
Wait about 15 mins until the design is about 60% dry and peel off the stencil and tape to reveal the design.
Step 9:
Let the mat dry. This is where you can spray the clear flex seal over the entire mat to ensure the design stays even better. If you don’t that is okay, the design should last well due to you using a liquid rubber for the design itself.
See told you that you could do it!! Enjoy your new mat!
If you liked this design, here is a .PNG file of it. You should be able to upload it to Cricut Design Space without any issues!

If you have any questions, let me know!! Thanks yall!



No Comments